via Fstoppers https://ift.tt/3kBx14r
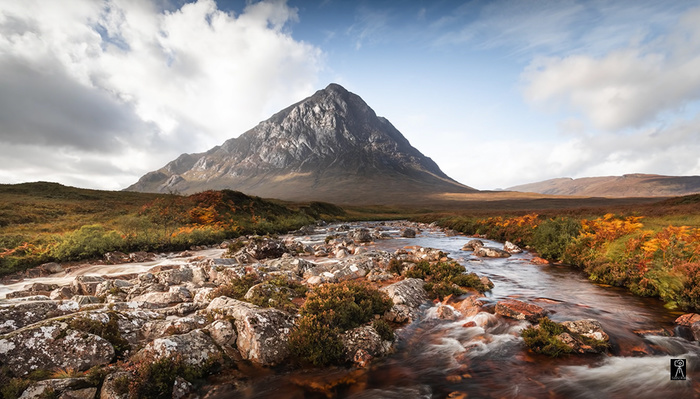
7 Common Mistakes Photographers Make

via Fstoppers https://ift.tt/301x3cl
Why Shadows Are so Crucial in Photos and Video

via Fstoppers https://ift.tt/3kyQXEZ
The Differences Between Various Popular Lighting Modifiers

via Fstoppers https://ift.tt/3bMjW4f
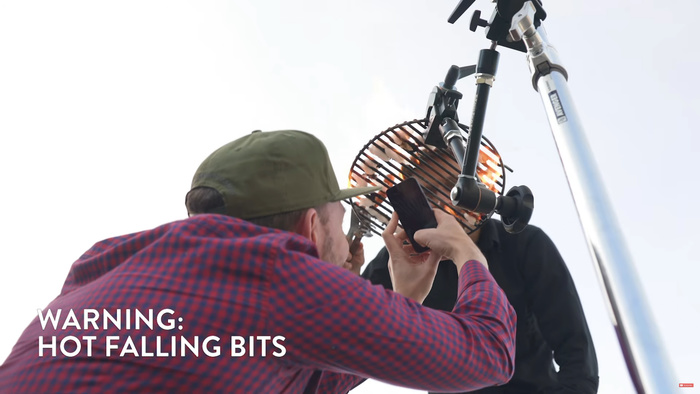
5 Great Smartphone Photography Ideas
via Fstoppers https://ift.tt/2NLhjYs
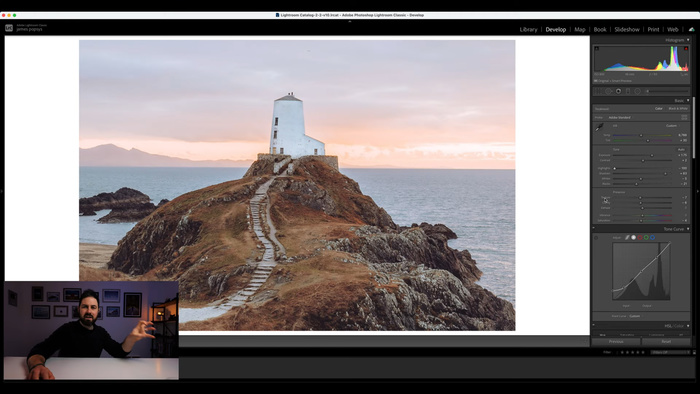
The Most Important Photo Editing Tools
via Fstoppers https://ift.tt/2NFJGaM
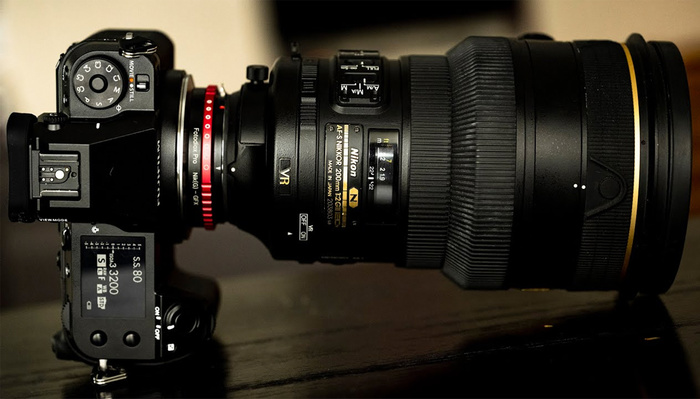
A Look at the Autofocus and Image Quality of the Fujifilm GFX 100S
via Fstoppers https://ift.tt/3bIp3T8
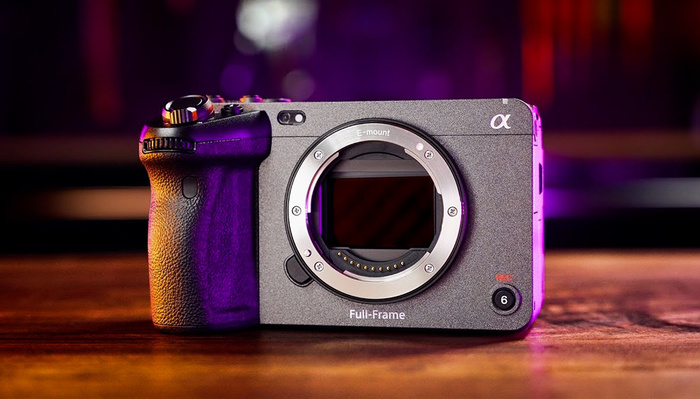
Should You Buy the Sony FX3 Instead of the a7S III?
via Fstoppers https://ift.tt/2P9M3CP
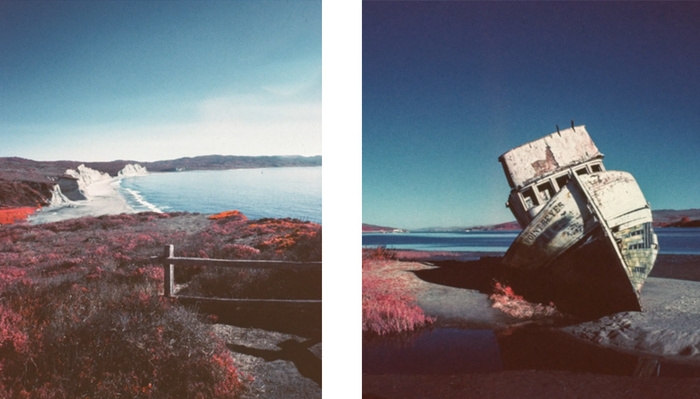
What Would You Shoot With One of the Few Remaining Rolls of Kodak Aerochrome?
via Fstoppers https://ift.tt/3bMYyvR
A Look at the Most Important Tools in Lightroom for Editing Your Photos
via Fstoppers https://ift.tt/3uAsZ13
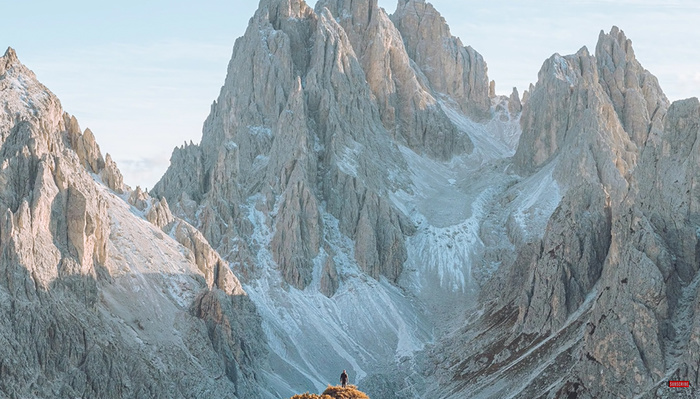
Why You Should Consider a Personal Photo Project

Did you receive a brand-new Olympus camera over the holidays? If so, chances are good that the next addition to your photographic toolbox wi...
Adobe Camera Raw vs. Olympus Workspace: Which app should you use?
Did you receive a brand-new Olympus camera over the holidays? If so, chances are good that the next addition to your photographic toolbox will be a Raw processor from the likes of Adobe, Capture One, DxO or one of their many rivals. But is payware or even subscriptionware software really necessary, when Olympus provides its own software free of charge with your camera purchase?
 |
| Olympus Workspace version 1.4's user interface. |
In this article, we'll compare the company's Olympus Workspace Raw processing application with its well-entrenched payware rival, Adobe Camera Raw, whose algorithms also underlie the company's popular Lightroom Classic application. As in previous articles in this series, I'm limiting myself only to image editing in the interests of keeping things to a readable length, and won't address features like image management, tethering or printing.
The ground rules
This comparison is based upon the most recent versions of each application at the time of writing. For Adobe, that's Camera Raw 13.1.1 and Bridge 11.0. For Olympus, it's Workspace 1.4. My computer is a 2018 Dell XPS 15 9570 laptop running Windows 10 version 1909.
To ensure neither Adobe nor Olympus had any advantage out of the gate, I've aimed to reproduce, as closely as possible, the look of already-processed images from our galleries, without any prior knowledge as to the recipes behind them.
 |
| Adobe Camera Raw version 13.1.1's user interface. |
I've chosen images from the Olympus E-M1 Mark II for use in this comparison, as it was the most recent model for which we had sufficient comparison images already prepared, and its launch price and resolution are broadly similar to those of the cameras used in my previous manufacturer software comparisons.
Sharpness and noise reduction were left at their default settings to avoid overcomplicating things, while lens corrections were enabled for both applications. Images processed in ACR were saved at JPEG quality 11, just as used in our galleries. For Olympus Workspace, which offers a choice of just three different compression levels, I used the maximum 'Super Fine' quality.
The main differences
Of course, the most immediately obvious differences between ACR and Olympus Workspace are their camera support and price-tag. You already paid for Workspace when you bought your Olympus camera, so it's effectively free. While it only supports Raws shot by the company's own cameras, you can expect full Raw support for every Olympus camera to be available pretty much immediately upon release.


Download the full ACR image here; the full Workspace image here.
Photo by Carey Rose
By contrast, ACR comes with a recurring subscription fee. It supports a vast range of cameras from many manufacturers, including every single interchangeable-lens Olympus camera made to date, as well as many fixed lens models. If your camera supports Raw capture, ACR can almost certainly handle it, but that support can sometimes take a while to arrive after the release of new models. It's also more limited sometimes than first-party software, especially for older models.
For example, while Adobe offers 'camera matching' profiles for all of Olympus' Micro Four Thirds ILCs and Stylus compacts, it's not available for any of the company's Four Thirds DSLRs except the E-5. Nor is it provided for Camedia, SP- or XZ-series fixed-lens cameras.
A clean, modern interface and database storage of edits
Olympus Workspace is a relatively new offering that first launched in early 2019 alongside the sports-oriented E-M1X, so it's perhaps not surprising that it's pretty clean and modern, aesthetically speaking. And unlike some rivals, it doesn't make the mistake of storing your edits in your original files, nor does it scatter sidecar files all over your drives. Instead, all edits are stored in a single database whose location you can control.


Download the full ACR image here; the full Workspace image here.
Photo by Carey Rose
Workspace has a non-modal design and is pretty customizable in terms of its layout, which is liberally sprinkled with unlabeled icons. For most the meaning is obvious, but some are a bit opaque, although a description is usually shown if you hover the mouse pointer above them. There's also an excellent, in-depth PDF user manual linked from the Help menu.
High-res 4K screens, touchscreens and pens work well for the most part, though there are quirks
You can't directly edit Workspace's keyboard shortcuts, but you can choose from a few different preconfigured shortcut groups for some of the more commonly-used options. Most editing controls are grouped in an editing palette that, by default, sits at the right of the screen. It has a tabbed design and individual sections under each tab can be opened or closed at once. If you leave many open together, though, you can find yourself doing a lot of scrolling in search of controls.
Multiple monitors are supported, allowing you to view your image full-screen on one monitor while adjusting controls or browsing thumbnails on the other. You can also compare and edit two different images side-by-side, a feature most competitors lack. High-res 4K screens, touch-screens / pens also work well for the most part, although there are some quirks.


Download the full ACR image here; the full Workspace image here.
Photo by Carey Rose
The UI can sometimes prove rather quirky, though
If you have multiple displays of differing resolution and you drag panels between them, the correct per-screen scaling factor is forgotten and the panels can be unusably large or small. And adjusting sliders is easier with a mouse instead of touch or pen input, because you have to double-tap on the slider with a pen or your fingertip before you can make your adjustment.
In most apps, if an adjustment isn't available you'd expect it to be grayed out, but Workspace doesn't do so
Nor are those the only strange UI choices. For example, preset white balance can be adjusted on a magenta-green axis with a fixed step size, yet auto white balance is instead adjusted on a green-magenta axis and its slider moves smoothly, rather than in steps. Yet even though it moves smoothly, positions in between the steps don't affect the white balance at all, meaning you can have two images with seemingly different adjustments that are nevertheless 100% identical.
Even more confusingly, the contrast slider might have absolutely zero effect if the Gradation control is active and set to anything other than normal gradation. In most apps, if an adjustment isn't available you'd expect it to be grayed out, but not in Workspace. With all of that said, Olympus does provide a wide range of controls including several most of its rivals lack, such as highlight and shadow sliders, keystoning adjustments and even per-color sliders for hue, saturation and luminance.


Download the full ACR image here; the full Workspace image here.
Photo by Carey Rose
Modest performance and very buggy GPU processing
Adobe has done an impressive job tuning its algorithms for performance, and like most of its rivals, Olympus Workspace struggles to keep up with Camera Raw. While fast enough to be usable, its previews aren't real-time and final output takes more than twice as long. Rendering the six-image batch accompanying this article took Camera Raw around 10 seconds, but Workspace needed a full 24 seconds to complete the same task.
But that's not the full story, because of an issue I quickly discovered with preview rendering. By default, Olympus uses your graphics processor to boost performance, and previews are rendered in two passes -- first at a relatively low resolution, and then a higher one.
Frequently though, that second pass never completed, even after the hourglass indicating processing was underway had vanished. And sometimes, the final pass rendered at a moderately low resolution instead, while the hourglass symbol sometimes wasn't shown at all during processing.
Disabling GPU processing fixed all of this for me, and didn't noticeably slow down image previews. It did, however, make final output *much* slower, more than doubling the processing time for my six-image batch to around 56 seconds. And it's an either/or choice which requires the program to be entirely restarted, so you can't easily switch GPU processing on just for the final render but not the previews.
More natural results than Adobe, but highlight/shadow sliders aren't as useful
In discussing Olympus Workspace's user interface, I noted that it had a couple of important controls many rivals lack: A pair of sliders for highlight and shadow recovery. They're intuitive, but unfortunately they're also not as powerful as those in Adobe Camera Raw.


Download the full ACR image here; the full Workspace image here.
Photo by Carey Rose
Neither could recover as much highlight/shadow detail as could their ACR equivalents, and at the same time, I found they both affected midtones much more. A soft touch is required with both if you want to avoid banding and blocked-up shadows. And recovered shadows also show very muted color, whereas ACR did a much better job of restoring color to those lifted shadow areas.
That being said, I found Olympus Workspace to do a pretty good job with image quality in other respects. To my mind it did a slightly better job than ACR with lens distortion correction, and its images also tended to look more natural, with significantly lower levels of sharpening in particular. Noise reduction levels are higher by default than those used by Adobe, and have a slightly mottled, less film-like look.
Adobe favors a more consumer-friendly, punchy look by default, with significantly higher levels of contrast and saturation, although obviously you can tune this to your tastes if you forego the auto controls. (And with the exception of a handful of tools, Workspace largely doesn't provide for one-click auto adjustments.)


Download the full ACR image here; the full Workspace image here.
Photo by Carey Rose
Conclusion
More than most of its rivals, Olympus Workspace leaves me feeling somewhat conflicted. Once you're past the initial learning curve, its interface is clean and approachable, and it offers quite a few handy tools missing from most of the competition. And it's certainly capable of providing decent image quality, albeit not in the same class as Adobe when it comes to highlight and shadow recovery.
I could certainly see Workspace being a pretty capable companion for your Olympus camera
But performance is a bit of a weak spot that becomes decidedly more of a concern if you need to disable GPU processing, as did I. It's certainly possible that my significant preview rendering issues when it's enabled are specific to my chosen graphics card, a 4GB NVIDIA GeForce GTX 1050Ti. The good news is that since the software itself is free, it's relatively simple for readers to test GPU rendering in their own setup to see if they have any such issues.
If you're not plagued by the kind of GPU-specific issues that I was, and don't often find yourself needing to make significant highlight / shadow corrections, I can certainly see Workspace being a pretty capable companion for your Olympus camera, and it's hard to argue with a price-tag of $0. But if you want the greatest possible scope to correct exposure issues, or you're beset by problems with preview rendering as I was, you'll want to give Workspace a miss for the time being.
Sample gallery
Images for this article were originally posted in this gallery. Please do not reproduce any of these images without prior permission (see our copyright page).
from Articles: Digital Photography Review (dpreview.com) https://ift.tt/2O6ArjJ
via IFTTT
via Fstoppers https://ift.tt/3bKDNkl
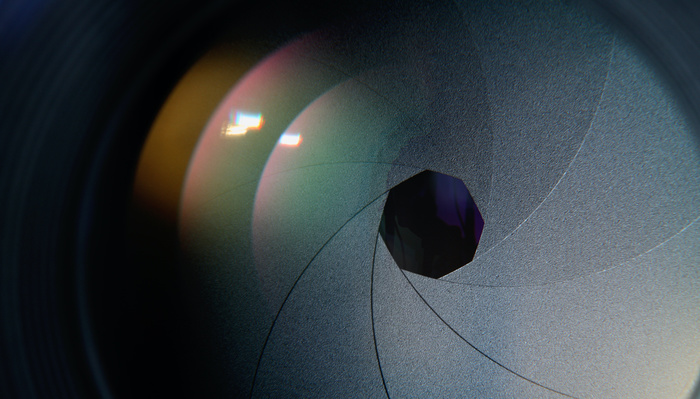
Everything You Need to Know About Aperture in Just Two Minutes
The Sony FE 28-60mm F4-5.6 is a compact, retractable full-frame zoom lens that's bundled with the a7C and is also available separately...
Sony FE 28-60mm F4-5.6 sample gallery
The Sony FE 28-60mm F4-5.6 is a compact, retractable full-frame zoom lens that's bundled with the a7C and is also available separately for $500. When mounted to one of Sony's APS-C cameras, it's equivalent to a rather unconventional focal length of 42-90mm. Check our sample gallery to see what kind of image quality you can expect.
View our gallery of samples from the Sony FE 28-60mm F4-5.6
from Articles: Digital Photography Review (dpreview.com) https://ift.tt/38czPQP
via IFTTT
via PetaPixel https://ift.tt/3uHZOcb
Great Reads in Photography: February 28, 2021
via Fstoppers https://ift.tt/2NKC72o
Learn Advanced Flash Techniques With This Behind the Scenes Video
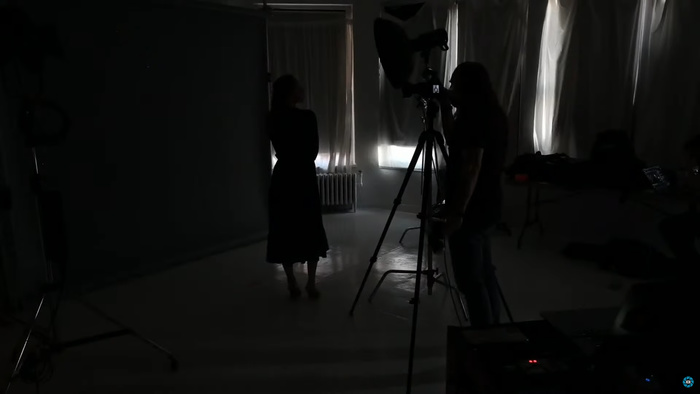
via Fstoppers https://ift.tt/3sChLHc
What Sort of Camera Strap Is Right for You?
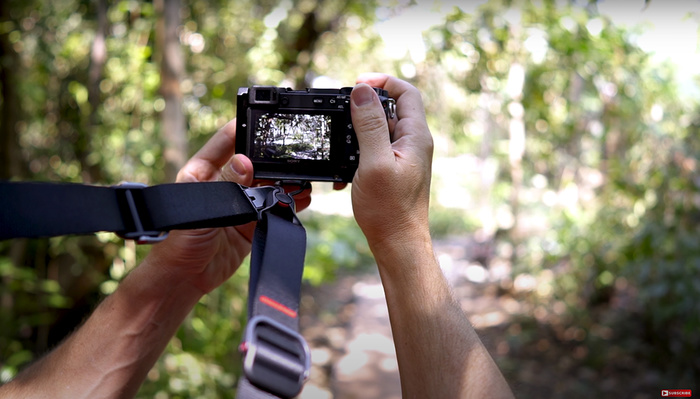
via Fstoppers https://ift.tt/3bOVGhW
Should You Follow Trends or Photograph What You Love?

via Fstoppers https://ift.tt/3q7iM8U
How to Create a Dramatic Black and White Image in Photoshop
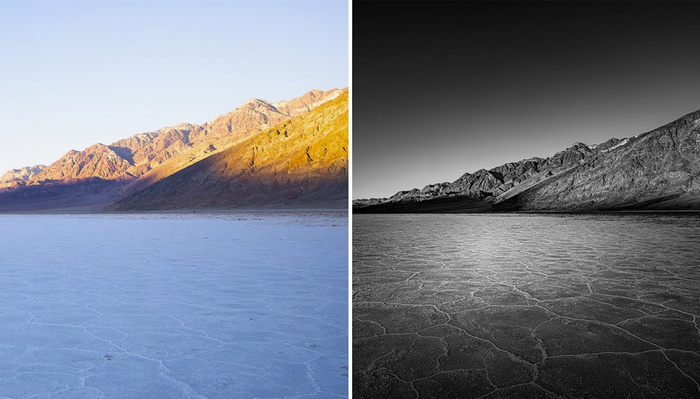
via PetaPixel https://ift.tt/2O4Lmdx
Playful Illusions Made from Household Objects
via Fstoppers https://ift.tt/3r7IjQE
Should You Buy Photography Products From Kickstarter?

via PetaPixel https://ift.tt/2Ob6rmv
5 Posing Tips for Portraits of People with ‘Challenging’ Facial Features

via Fstoppers https://ift.tt/2NCQiqp
Does a Love of Photography Help or Hinder a Career in It?

via PetaPixel https://ift.tt/3sLigPF
How Black People in the 19th Century Used Photography as a Tool for Social Change
via PetaPixel https://ift.tt/3aZBryX
Watch Photography Professors Do a Shootout with Kids’ Toy Cameras
via Fstoppers https://ift.tt/3r1QlKJ
One Lens for Everything: A Review of the 28-200mm f/2.8-5.6 Di III RXD Lens

via Fstoppers https://ift.tt/3dQRb9c
Is This Premium 50mm Lens Worth the Price?
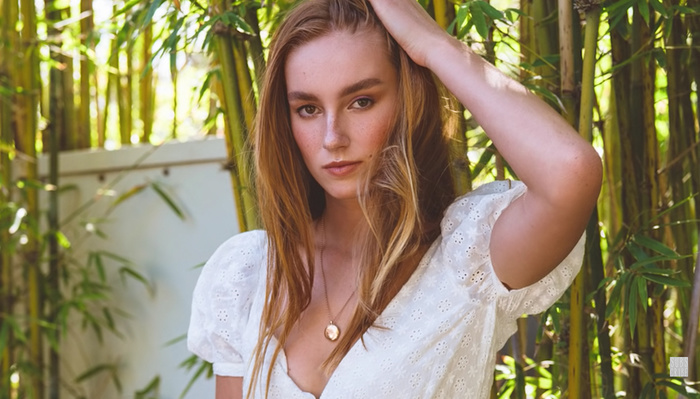
Last week we published a video about the Blackmagic URSA Mini Pro 12K, and comments came swiftly . We heard your feedback and re-shot th...
DPReview TV: The Blackmagic URSA Mini Pro 12K redux
Subscribe to our YouTube channel to get new episodes of DPReview TV every week.
- Introduction
- The Ursa Pro's 12K sensor
- Image quality
- Blackmagic Raw (BRaw) recording
- Storage options
- What can mirrorless cameras learn?
from Articles: Digital Photography Review (dpreview.com) https://ift.tt/3sBrnSy
via IFTTT
via Fstoppers https://ift.tt/2ZXcnSY
How to Blur Out Backgrounds Using Photoshop

via Fstoppers https://ift.tt/2ZRztKK
A Review of the Canon RF 70-200mm f/4L IS USM Mirrorless Lens

via Fstoppers https://ift.tt/2Pbs2vD
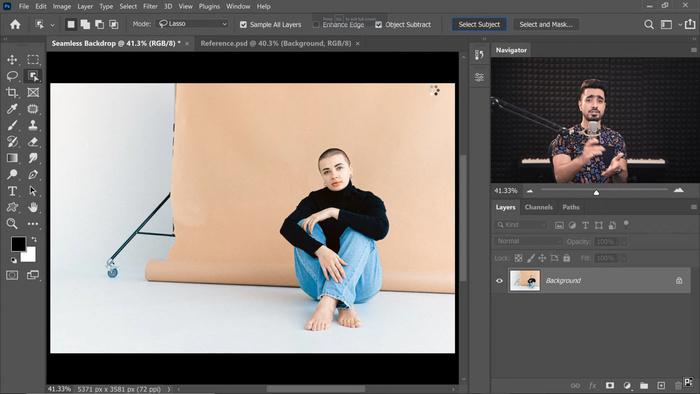
How To Create Seamless Backdrops in Photoshop
via PetaPixel https://ift.tt/3bL9UQP
Leatherworker Wants Photographers to Actually Enjoy Carrying a Camera
via Fstoppers https://ift.tt/2ZXuLet
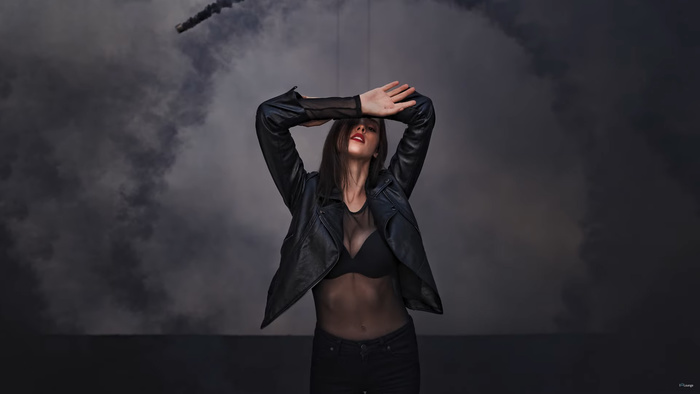
How To Create a Spin Smoke Effect in Your Photos
via Fstoppers https://ift.tt/2PhmOi8
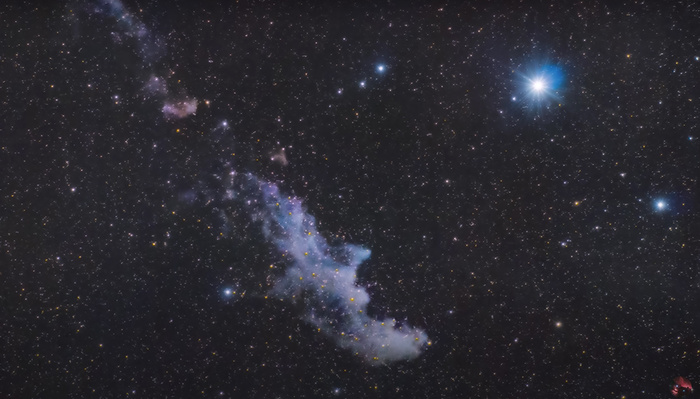
Could You Shoot Astrophotography With a Kit Lens?
Pentax has launched a quartet of recolored versions of its K-1 Mark II DSLR, which was first released in 2018 and is currently the c...
Pentax announces K-1 II J Limited 01 DSLR in four colors for the Japanese market
 |
Pentax has launched a quartet of recolored versions of its K-1 Mark II DSLR, which was first released in 2018 and is currently the company's flagship K Series camera. The K-1 Mark II J Limited 01 DSLR seems to be available only in Japan, which was also the case for the company's previous J Limited camera. The Pentax KP J Limited in 2019 was well-received, so Pentax has opted to develop J Limited as a formal factory brand.
The K-1 II J Limited 01 will be built on a made-to-order basis and comes with numerous changes compared to the mass-produced K-1 II. The Limited version must be hand-built due to the special color painting and parts changes, which cannot be performed in mass production.
The K-1 II J Limited 01 has a custom wood grip carved from North American walnut. The grip is hand-finished by craftsmen from Miroku Techno Wood Co., Ltd. This same group also crafts wooden handles for luxury cars. The wood grip, which has a nine-layer coating, is dyed using 'high-grade ink.'
 |
Rubber grips are also used on both sides of the main camera body. The dimpled rubber has an improved design, which Pentax states offers a better grip than previous models. The grip has a special 'J Limited 01' mark applied.
 |
Citizen Watch Co., Ltd.'s surface hardening technology, Duratect Gold, is applied to the lens mount. This process uses ionized titanium and gold to improve surface hardness and give the mount a more sophisticated, elegant appearance.
The K-1 II J Limited 01 has a removable top cover with a different silhouette than the standard pentaprism. In a translated press release, Pentax says, 'A brass "top cover A" can be layered on top of the resin "top cover B" to create a W top cover structure that allows the appearance to be changed according to the lens to be worn and the style of the day.'
 |
Pentax, in cooperation with photographers Kazutoshi Yoshimura and Takukei Seo, has added special shooting modes to the J Limited 01. The modes, PH-mode Yoshimura and PH-mode T, reproduce the photographers' settings when capturing landscapes images.
 |
Other features and specifications are identical with the K-1 Mark II, including the camera's 36MP full-frame image sensor, 5-axis image stabilization, 33-point autofocus system, handheld Pixel Shift mode and 1080/30p video recording.
 |
The Pentax K-1 II J Limited 01 is available for order in Japan now, with shipping expected to begin at the end of April. The K-1 II J Limited 01 is available in black and gold, viridian, scarlet rouge and LX75 metallic colorways. Precise pricing information is unavailable at this time.
from Articles: Digital Photography Review (dpreview.com) https://ift.tt/3ksMfsn
via IFTTT


0 comments: